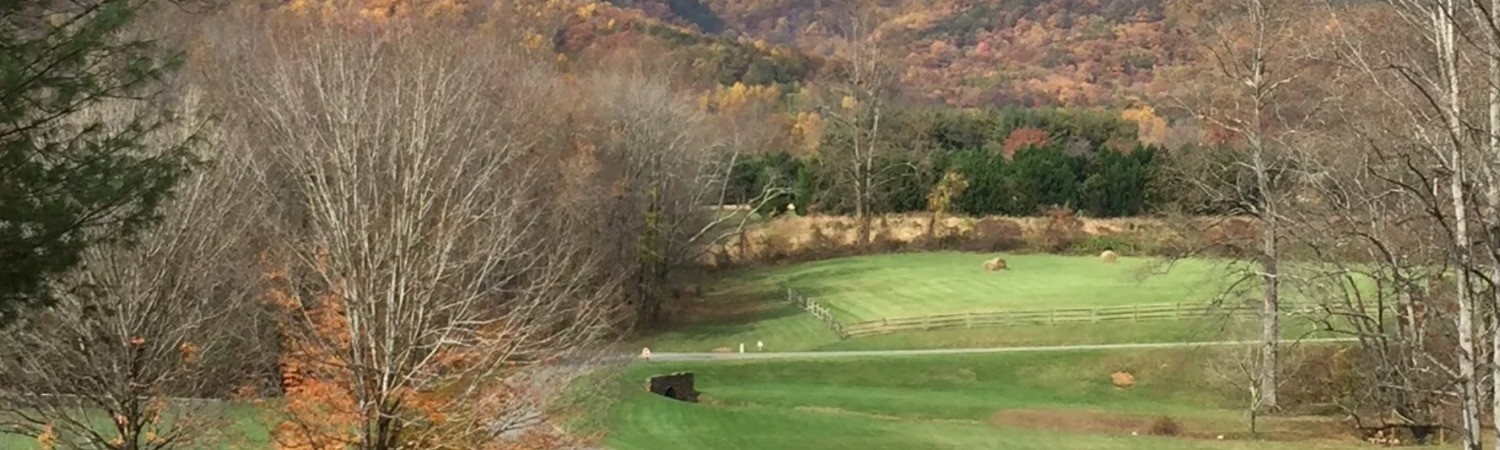
Photo Gallery
View why we love our community!
Photos by Bryant Brantley
Photos by Bryant Brantley
×
Pages
- Home
- About Us
- Orchard Mountain
- Directions
- Amenities
- Photo Gallery
- Community Updates
- Calendar
- Directories
- Board of Directors
- Committees
- Members Directory
- OM Directory
- Documents
- HOA Information
- Short Term Rentals
- Annual Meeting
- BOD Meeting Minutes
- Financials
- Architectural Guidelines
- Maintenance
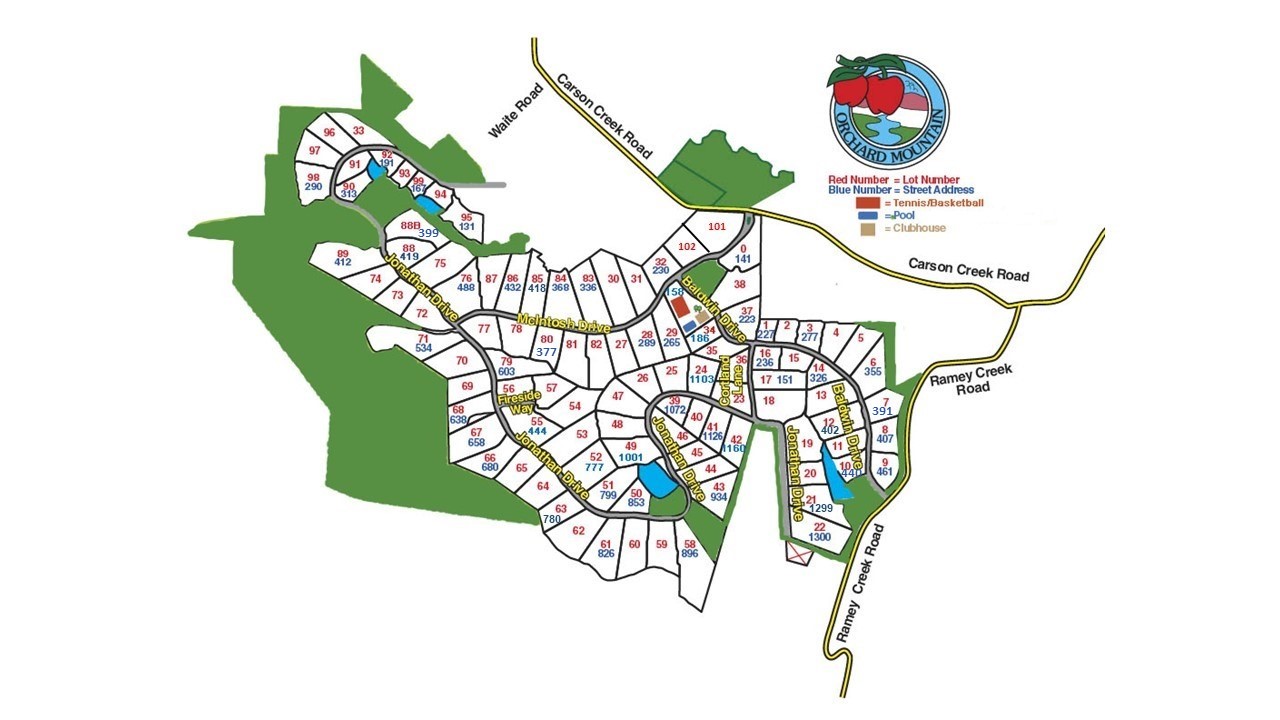
- OM Lot Map with Street Addresses
- OM Trail Map July 2023
- Service Providers
- Website Posting
- Cabin
- Neighborhood Map
- Properties
- For Sale by Realtor
- For Sale By Owner
- Clubhouse Reservations
- Contact Us